
How to Schedule SAP Background Jobs to Send Report Outputs as Attachment by E-mail to Multiple Recipient Periodically

N. Yiğithan Ünal
yigithan.unal@revola.com.tr
SAP FI Consultant, Revola Consulting
Introduction
With SAP jobs, it is possible to schedule a report program and send its output via email to one or more recipients.
Purpose
SAP jobs created using the SM36 transaction code allow users to send the output of a report program as an email to an individual, a specific position, or a group at scheduled intervals.
Steps
Creating a Layout for the Report
Before scheduling a job, it is essential to create a layout for the report output to ensure that the data is presented in the desired format
- The report program is run.
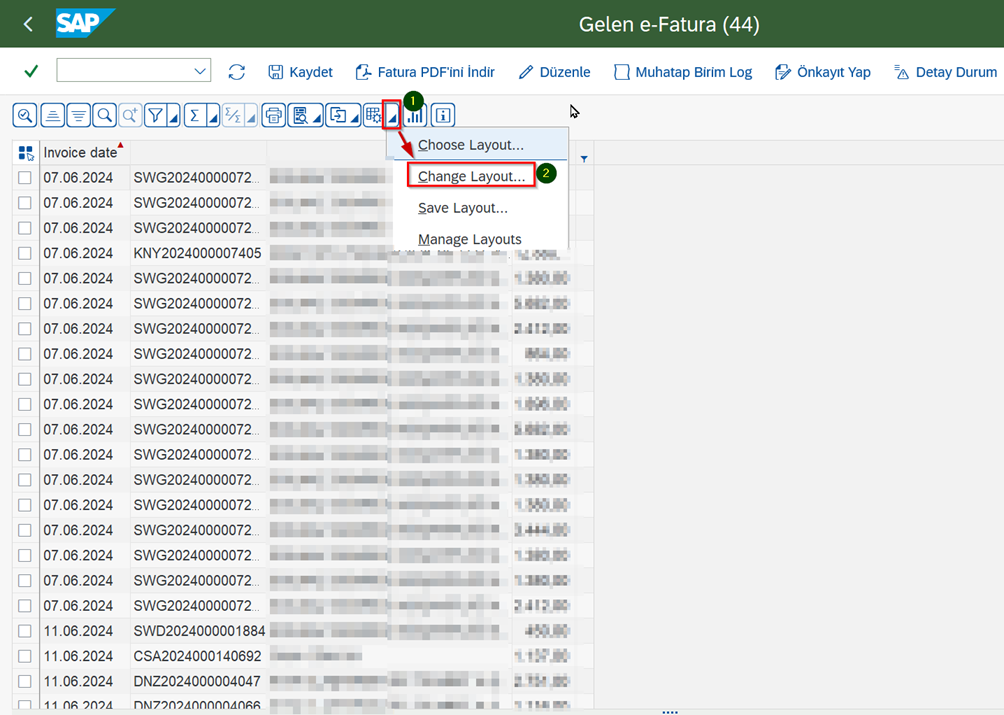
- Follow the steps above and click on “Change layout”.
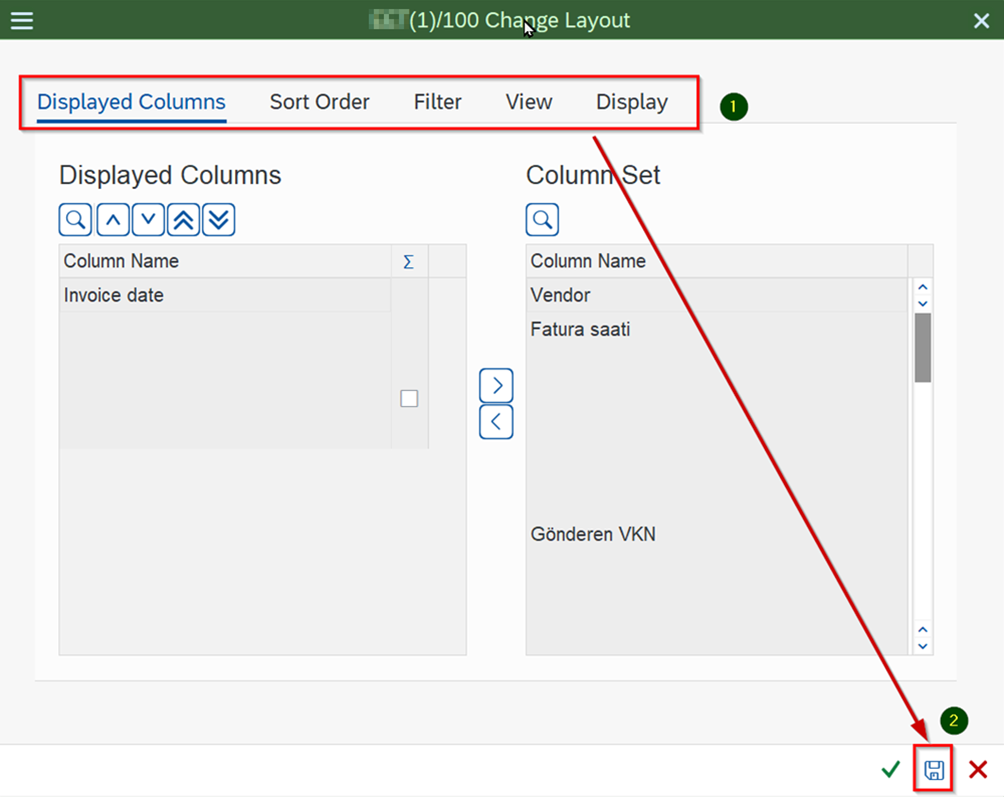
- After making the desired changes in the desired columns, sorting, filter, view and image tabs, click the “Save” button and save.
Creating a Variant of the Report Program
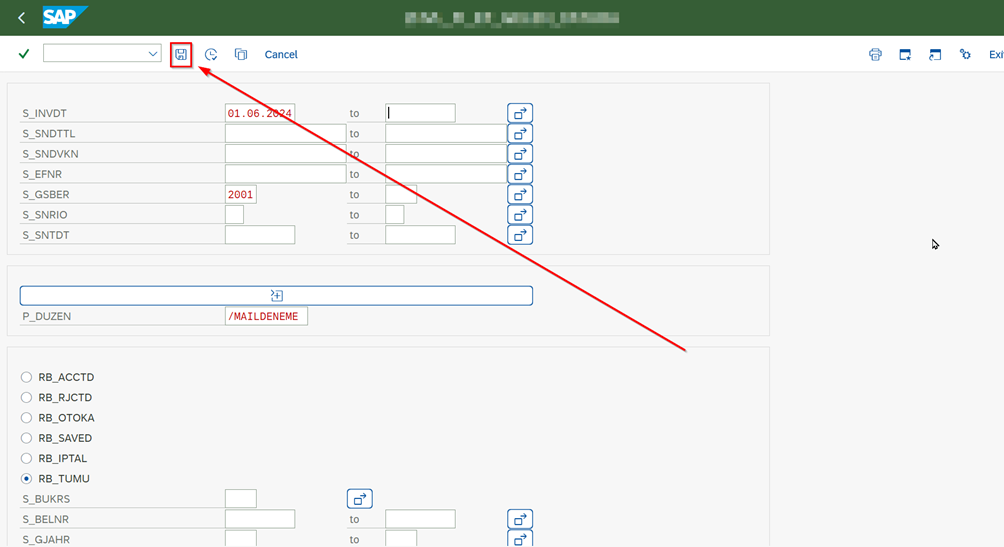
[NOTE: If the layout cannot be saved by default and there is no screen layout selection field on the selection screen, “Screen Layout” is added as a selection parameter.]
- After entering the other report parameters, click on the “Save” button and the variant is saved.
Automatic Date Derivation Based on Job's Working Day in Variant
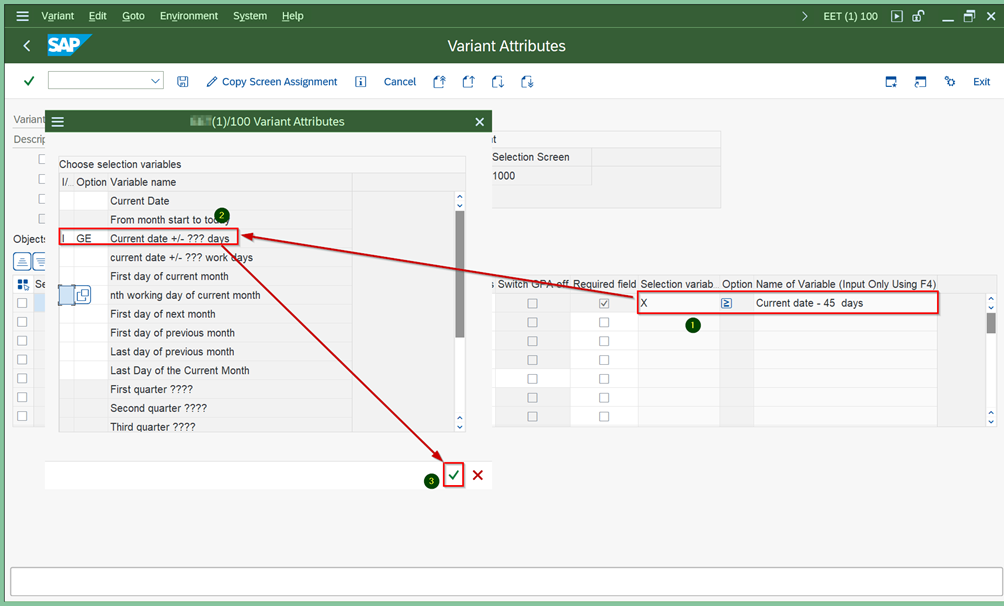
- After clicking the Save Variant button, the selection variable can be entered and the date field can be filled accordingly.
Create a List of People to Send Mail to
- Go to transaction code “SO01”.
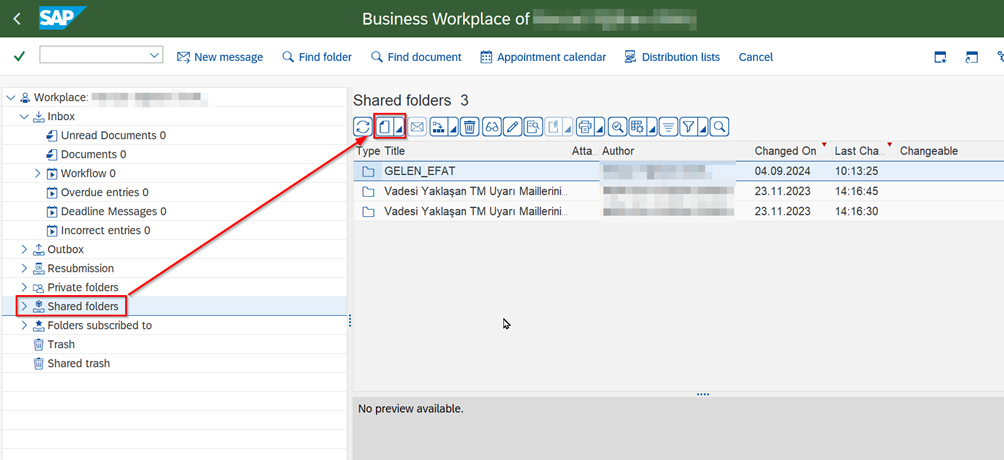
- Click on “Shared folders”.
- A new folder is created.

- Click on the newly created folder.
- Click on the “Distribution lists” button.
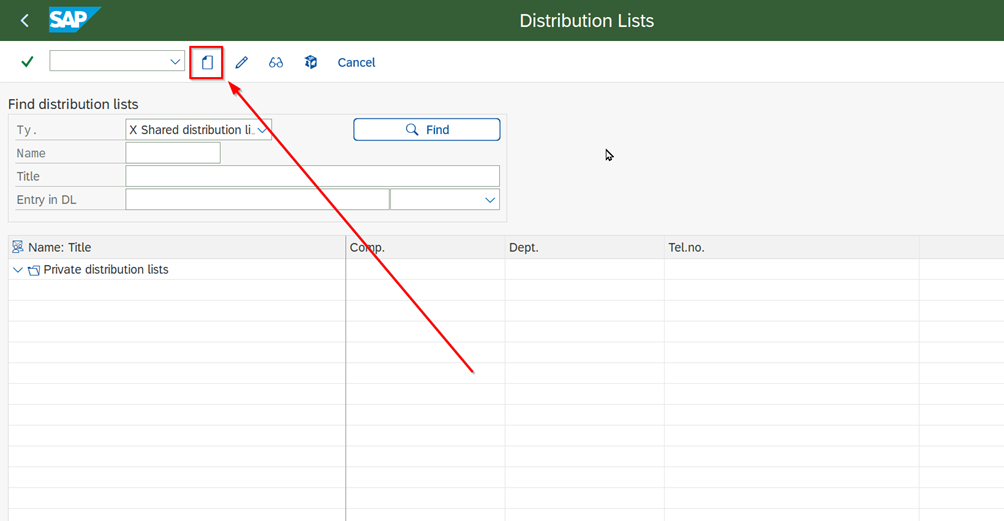
- Click on the “Create” button on the page that opens.
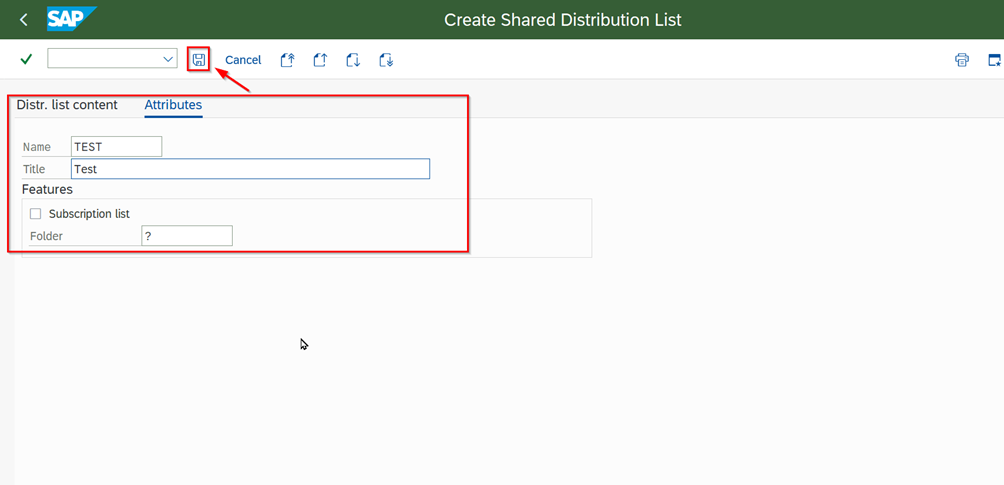
- List information is entered and saved.
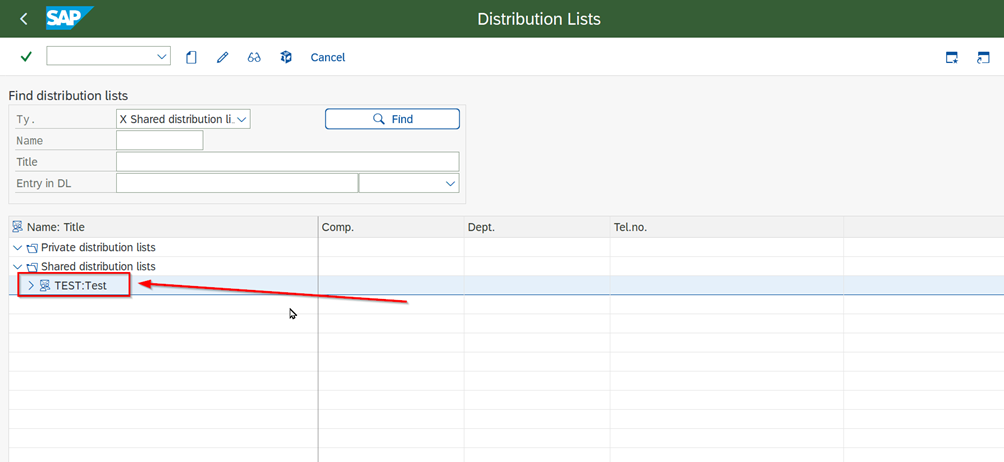
- Go back and double click on the created list
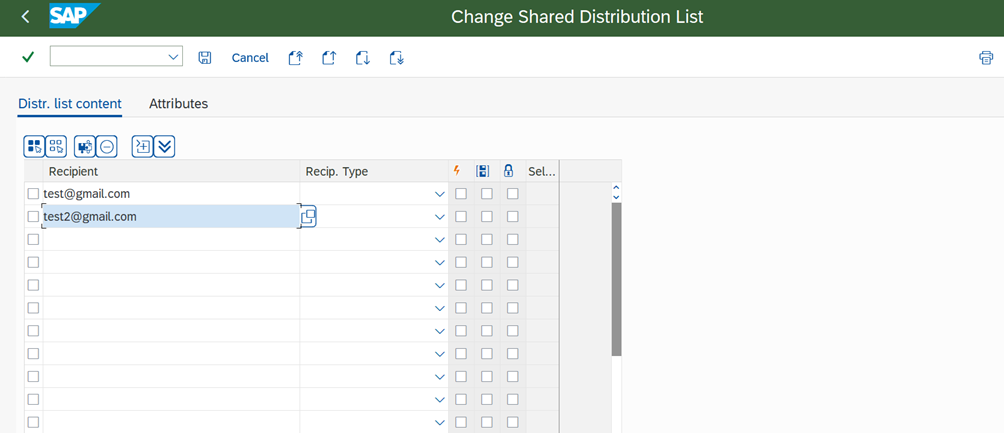
- Mail addresses are entered and saved.
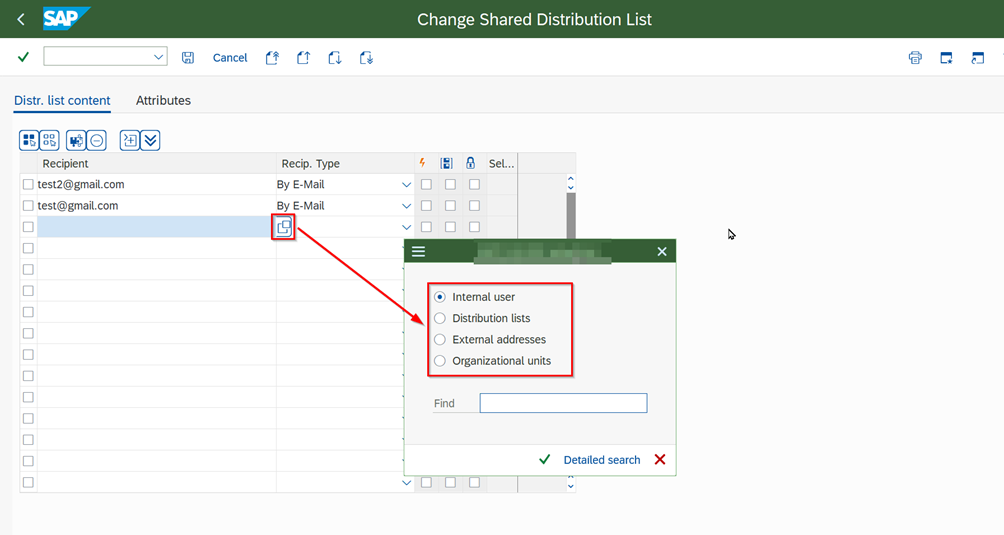
- Optionally, an internal user, a different distribution list and organization unit can also be added to the list.
Creating Job
- Go to the “Create Job” screen with transaction code “SM36”.
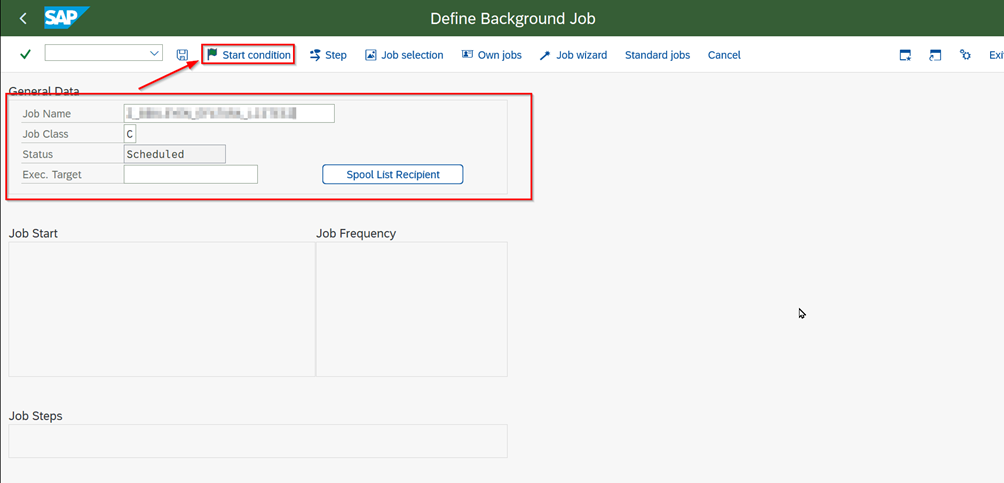
- General data is entered.
- Click on the “Start condition” button.
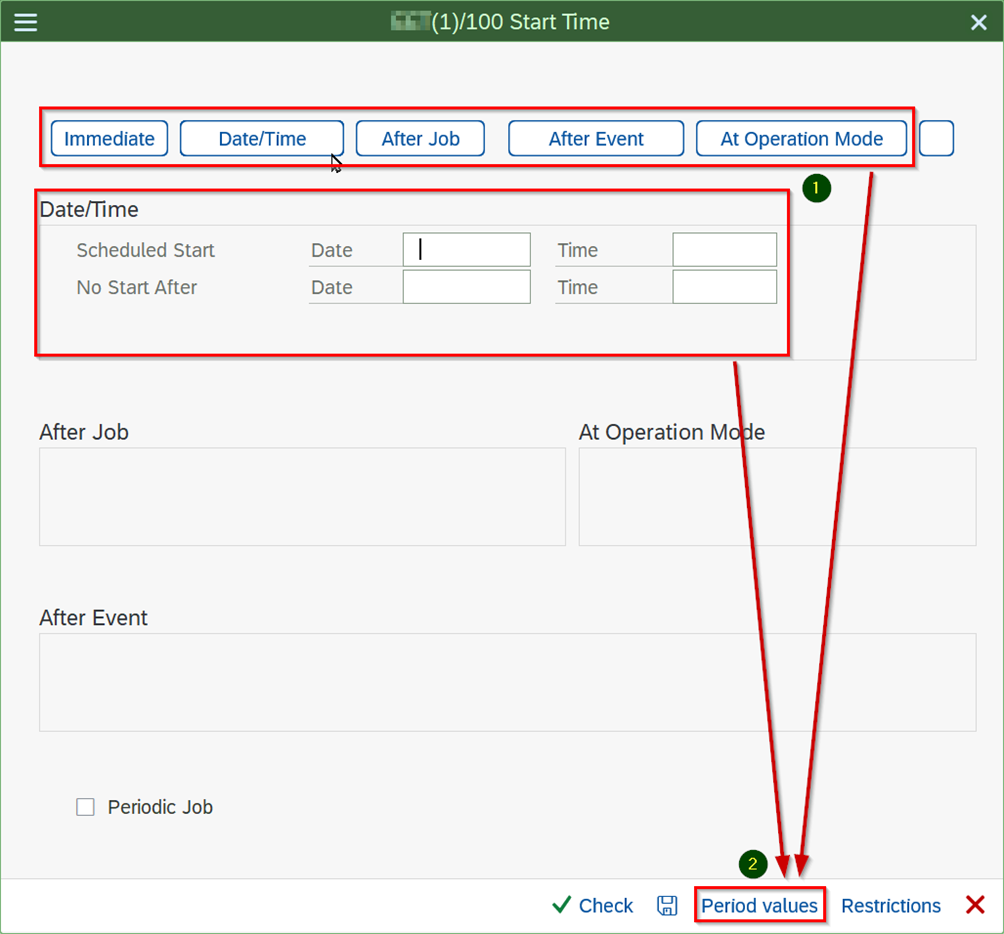
- Select the first start time of the Job.
- Click on “Period values”.
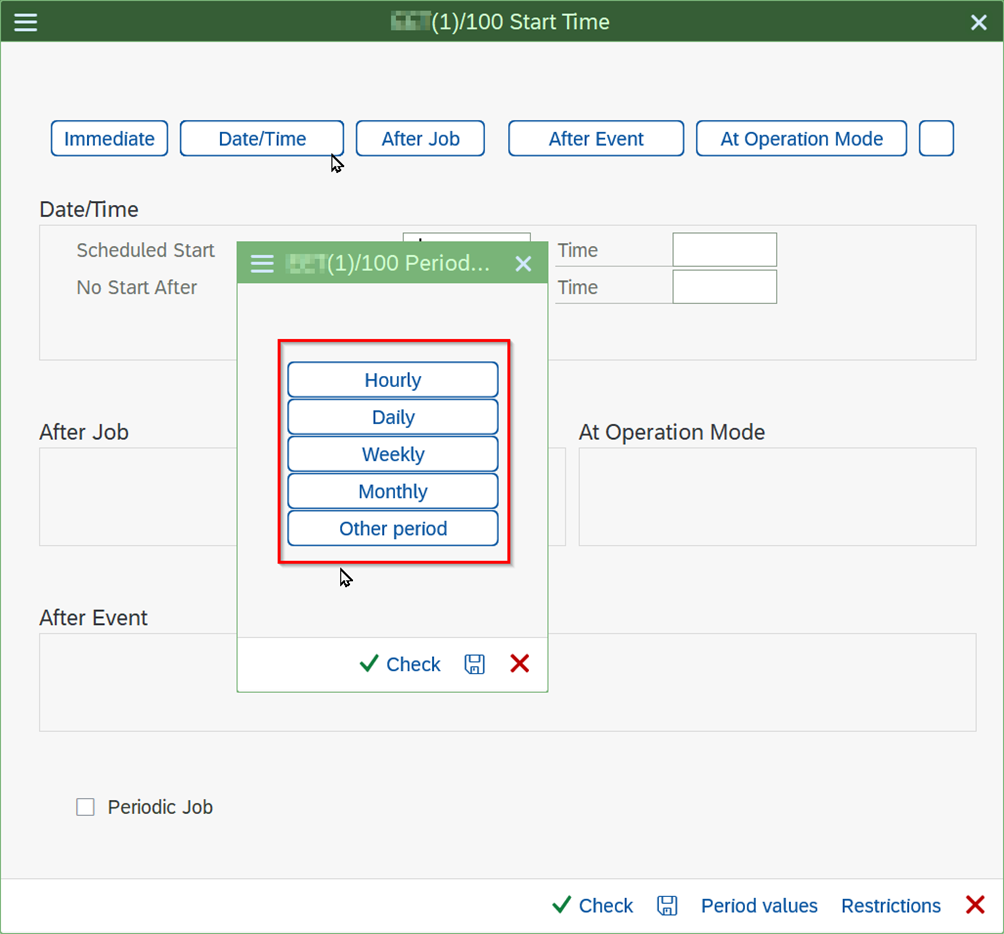
- Job working times are entered. If you want to enter a period other than hourly, daily, weekly and monthly, click on “Other period”.
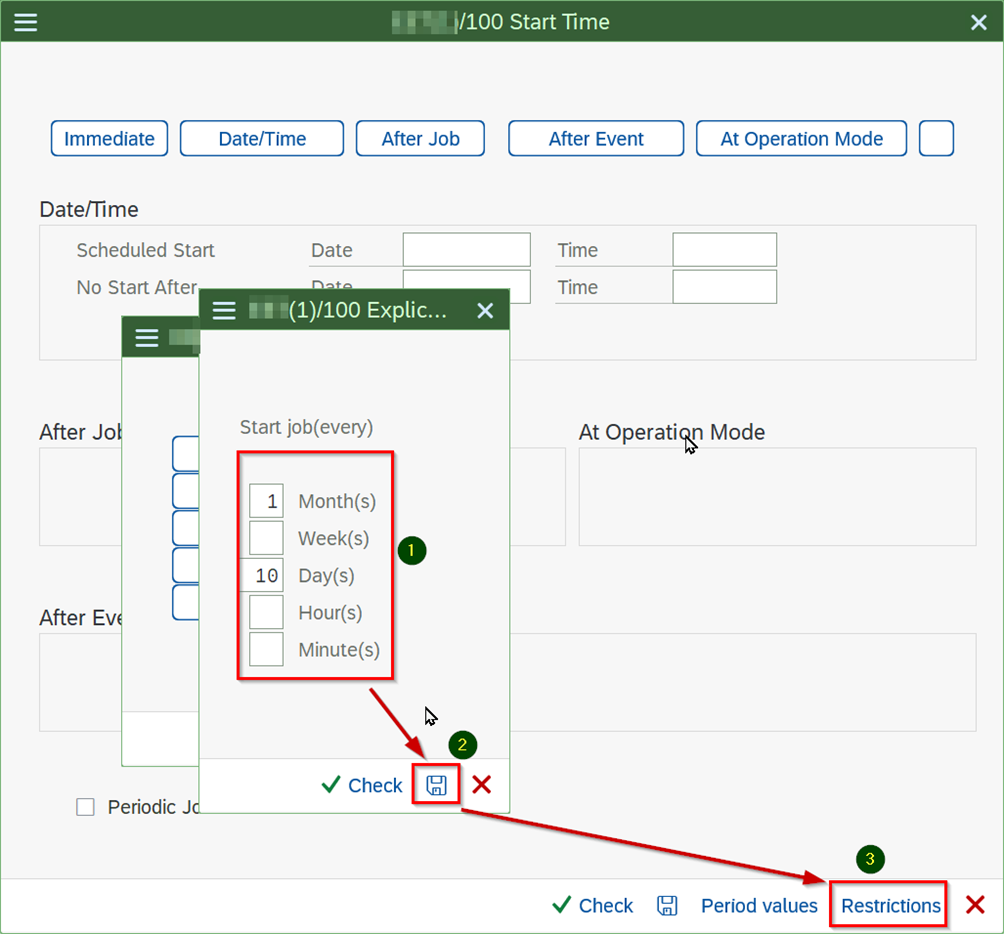
- Select the desired working period. For example, if entered as in the figure, it runs every 40 days.
- It is saved.
- Click on the “Restirictions” button.
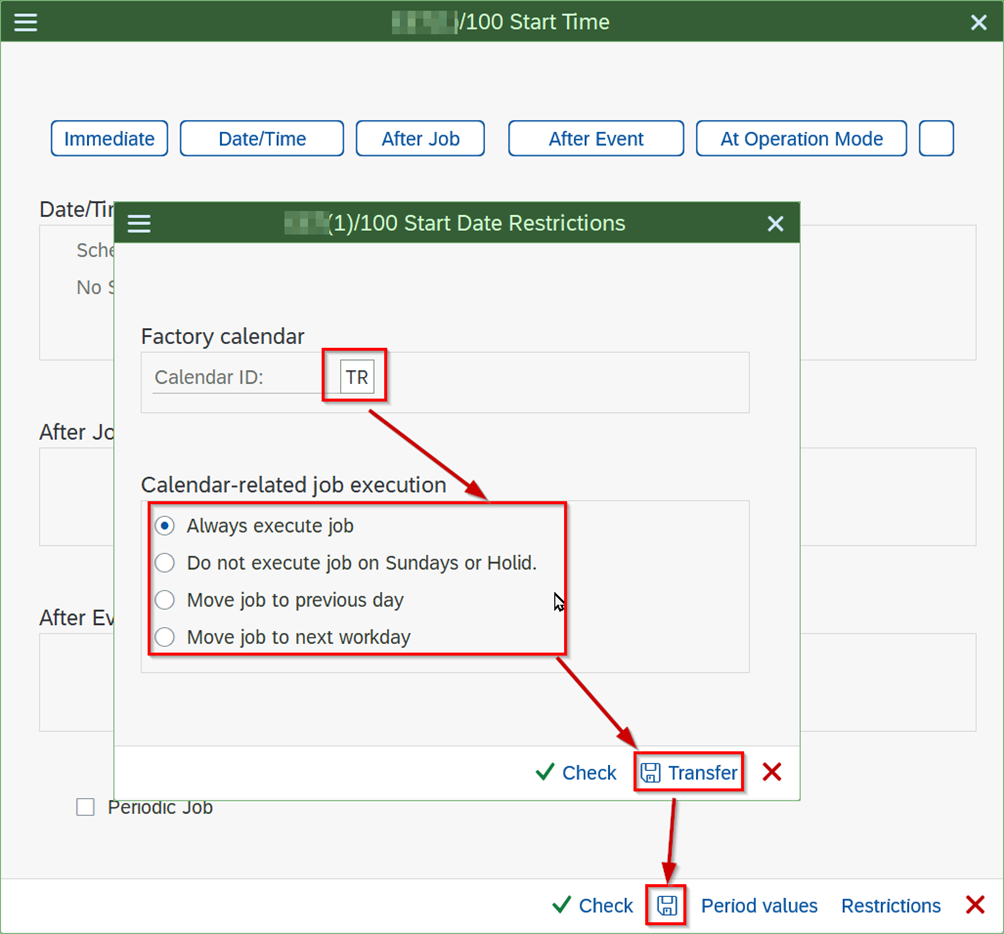
- Enter the calendar definition (Work days depend on the calendar).
- Select whether the Job will work on working days or not, and if not, whether it will be shifted or not.
- Saved.
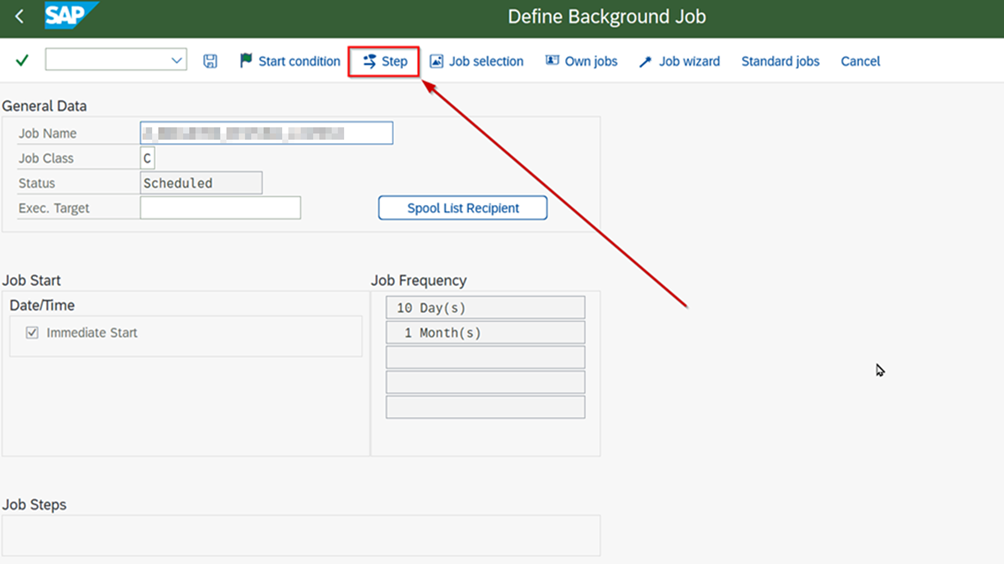
- Click on the “Step” button.
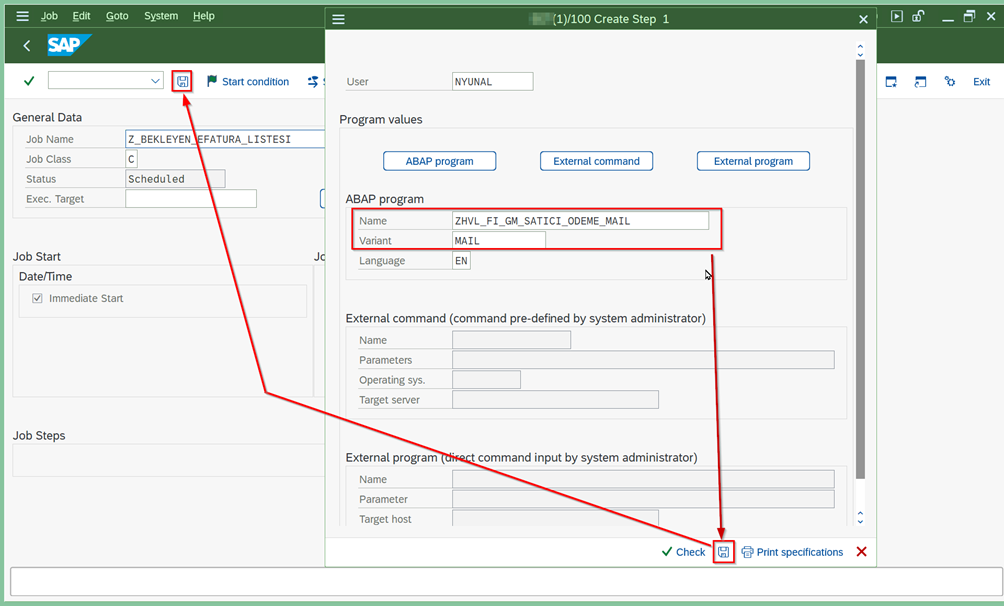
- The program name and the created variant are entered and saved.
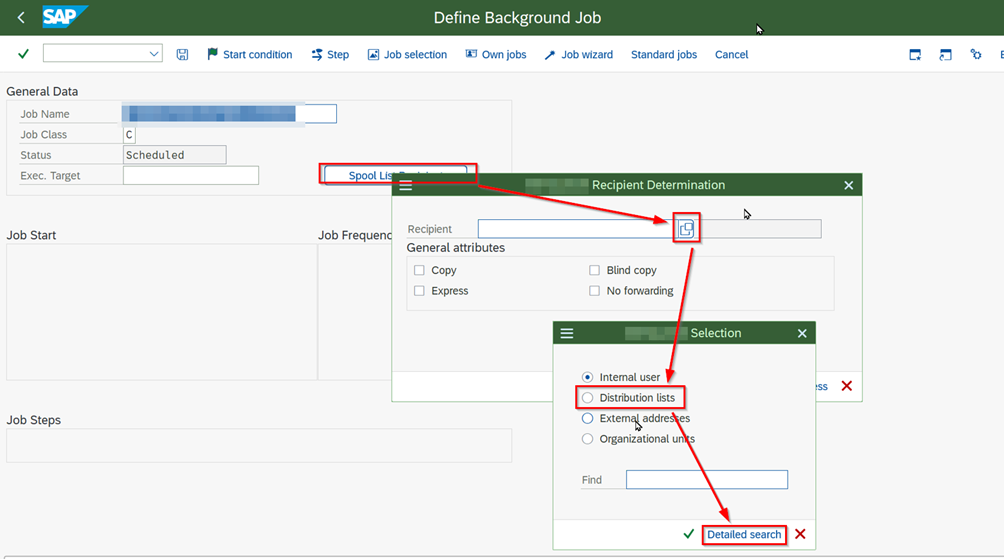
- Click the “Spool List Recipient” button to enter the recipient list.
- In the tab that opens, the search help opens.
- Select “Distribution lists” option and click on “Detailed search”.
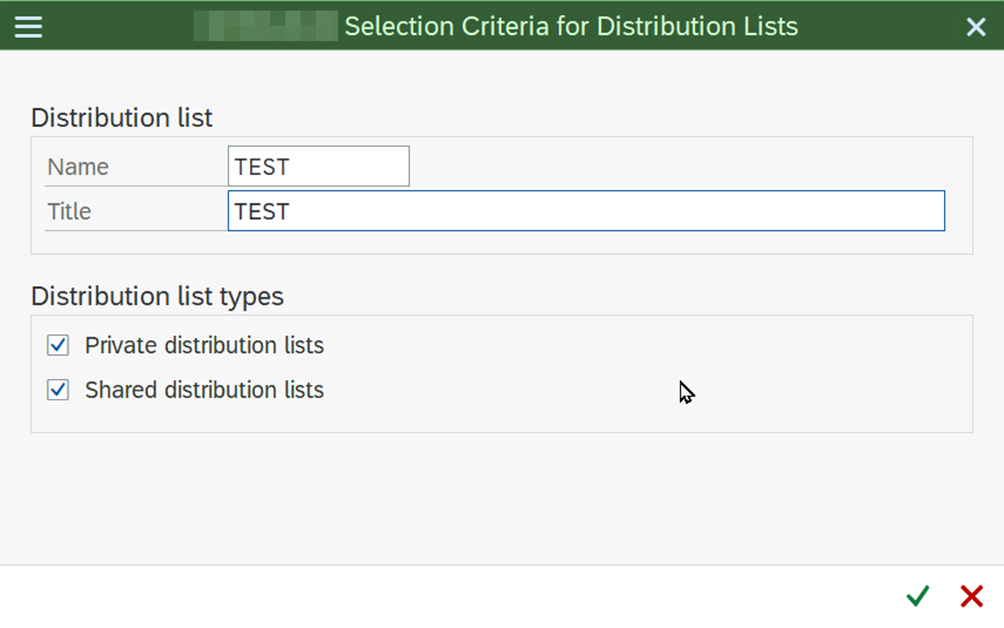
- The previously created distribution list is entered and confirmed.
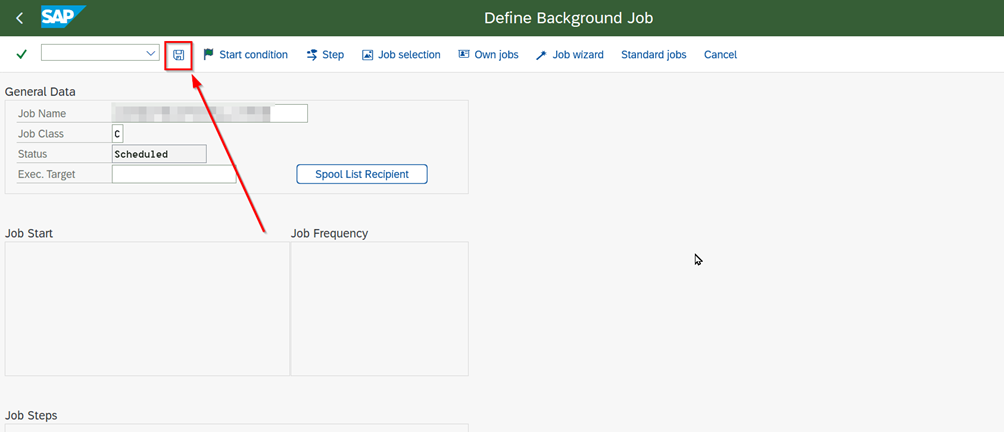
- Job is activated by clicking the “Save” button and starts to run on the entered start date.
Created Job Control
- Go to the job display screen with the transaction code “SM37”.
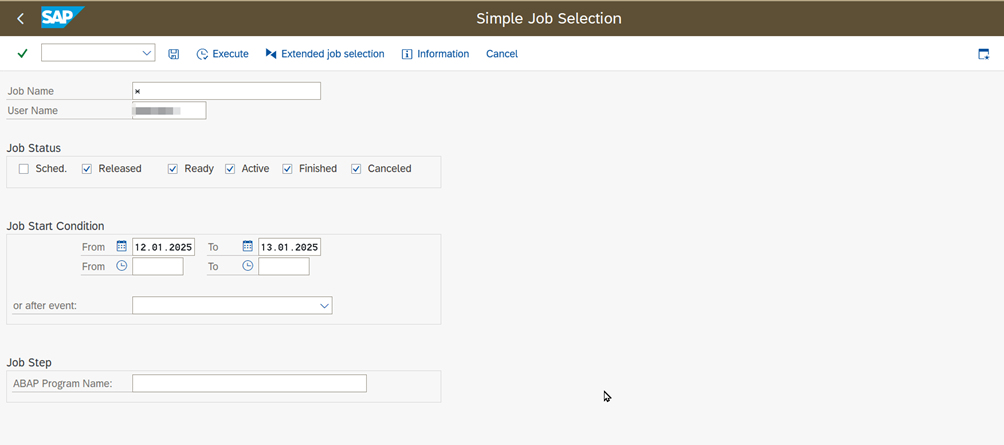
- Select “Job Name” or “User Name” on the selection screen.
- The date expected to run is entered and executed.
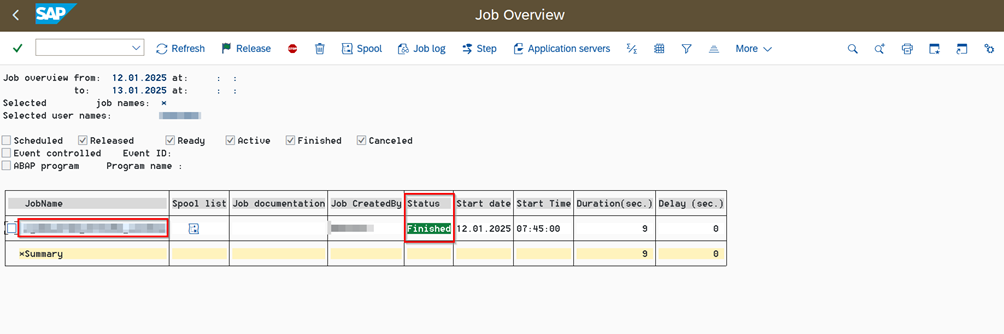
- Job status can be seen in the Satatus column.
- Double click on the desired job name on the screen that opens.

- This screen shows Job details and step status.
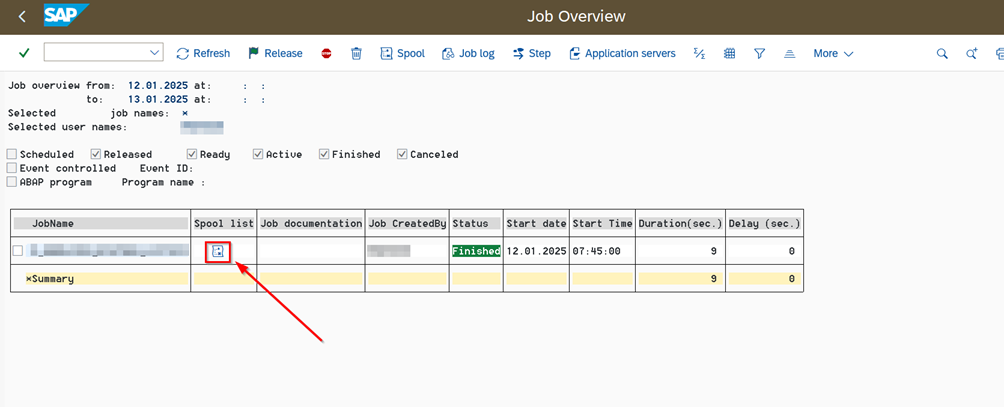
- If you want to view the sent report, double click on the icon in the spool list column, which is the column next to the job name.
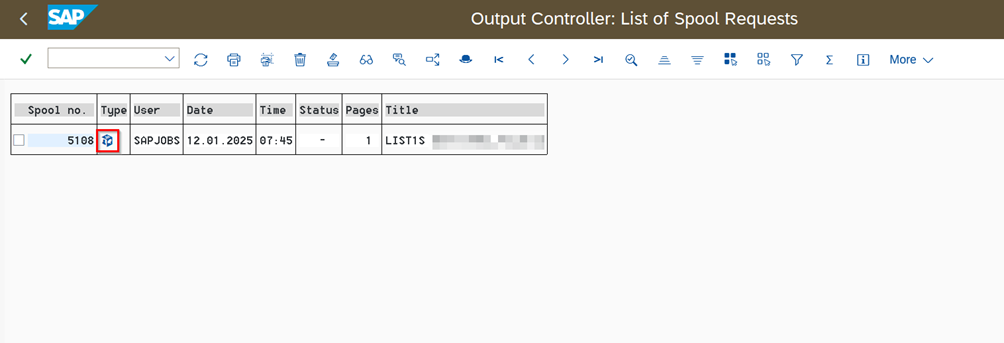
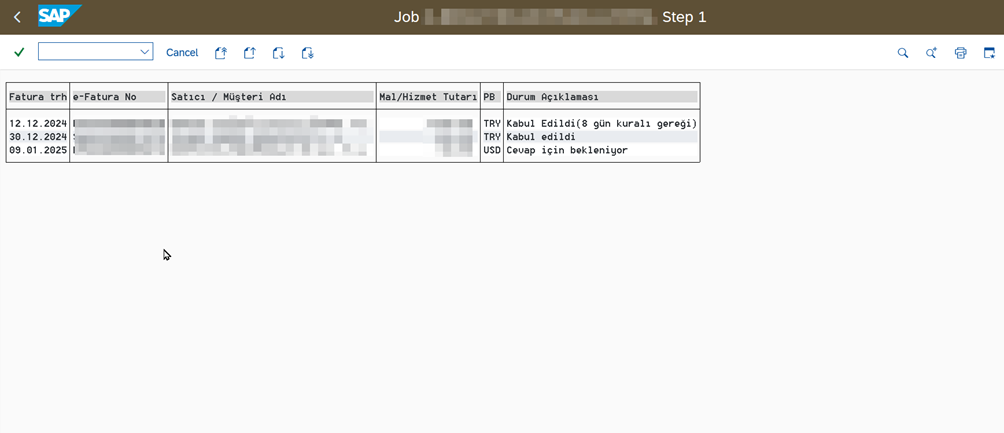
- On the screen that opens, click the icon in the type column.
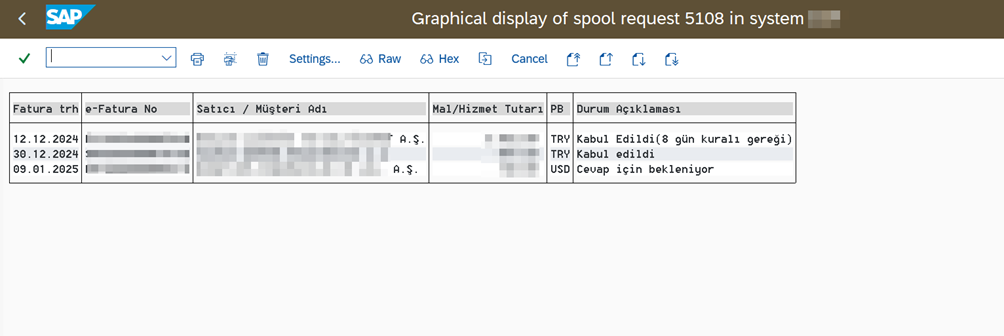
- The desired report can be viewed on the incoming screen.
Sent Mail Control
- Go to the mailing list with the transaction code “SOST”.
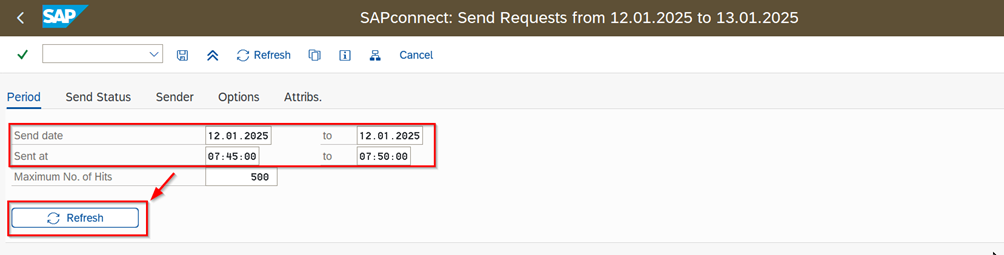
- Enter the date and time of submission and click the “Refresh” button.
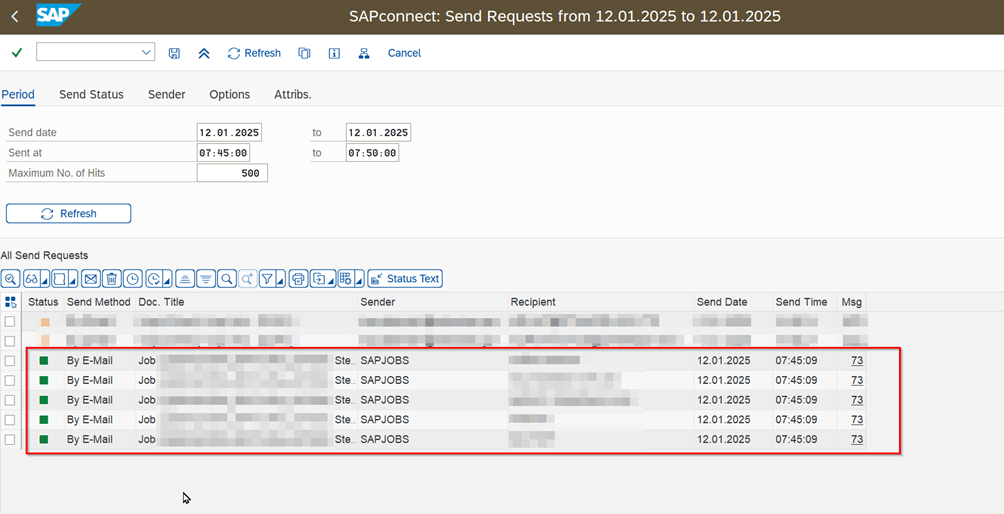
- On the screen that opens, the sending status of the mails can be checked.
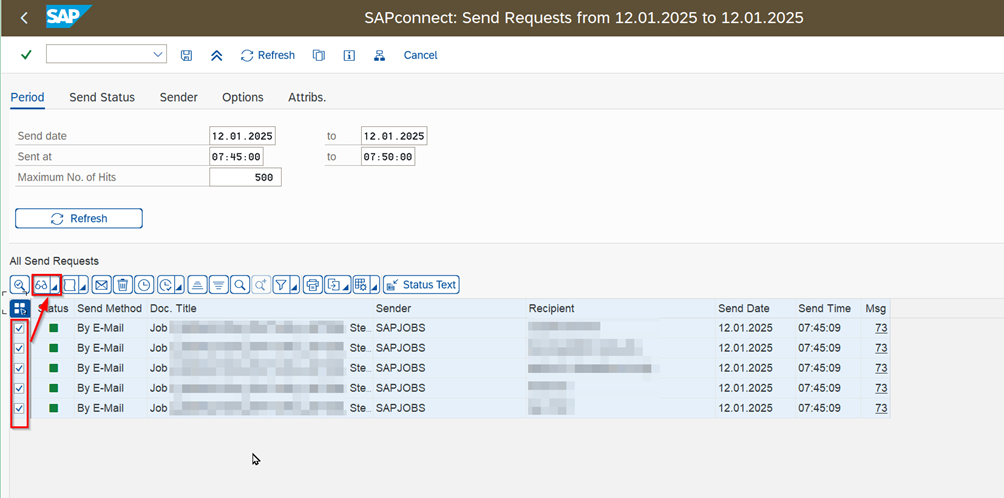
- Select the relevant rows and click on the button to see the inside of the mails sent.

- Click on the mail attachment.
- The mail attachment can be checked on the screen that opens.